Intellij IDEAの環境にSpring Boot DevToolsを導入する
はじめに
Intellij IDEAの環境にSpring Boot DevToolsを導入したので、導入方法を紹介します。Spring Boot DevToolsはTomcatを再起動せずにアプリケーションだけを再起動する機能があり、コードの修正、確認のサイクルを速めることができます。
前提
- Gradle 5.4.1
- Spring Boot 2.1.6
手順
依存関係の追加
build.gradleファイルに以下の記述を追加します。
configurations {
	developmentOnly
	runtimeClasspath {
		extendsFrom developmentOnly
	}
}
dependencies {
	developmentOnly("org.springframework.boot:spring-boot-devtools")
}
Intellij IDEAの設定
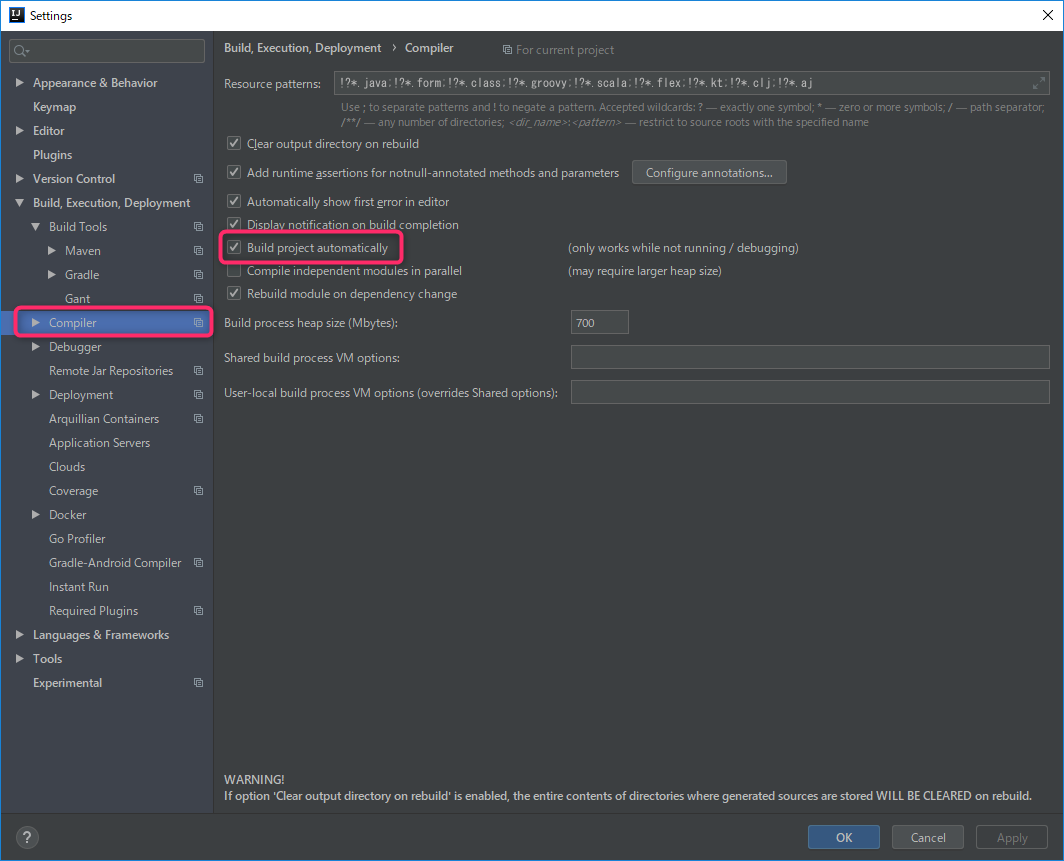
Build project automatically
SettingsのCompilerを選択し、Build project automaticallyにチェックを入れます。
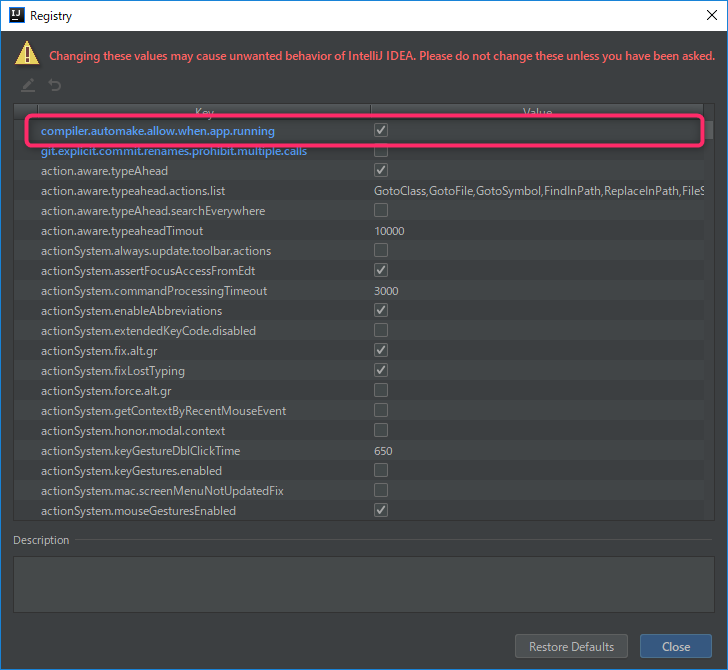
Registryの設定
“Controll + Shift + a” で表示されるダイアログに “Registry” とタイプし、”compiler.automake.allow.when.app.running” にチェックを入れます。
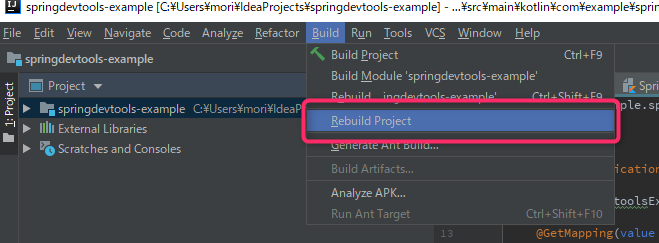
アプリケーションの再起動
BuildタブのRebuild Projectをクリックします。
※ビルドが実行されて、アプリケーションが再起動されます。
まとめ
Spring Boot DevToolsを使うことで変更の反映が速くできるようになりました。